11 Simple Mixing Tips You Need to Know
Something big has been happening in the production world. Tons of producers have been creating amazing and unique songs, because they’re now armed with…

https://cymatics.fm/blogs/production
Something big has been happening in the production world.Tons of producers have been creating amazing and unique songs, because they're now armed with resources that can actually help them…
BUT they are still struggling to get attention from EDM blogs, fans, and YouTube channels.
It’s not because their music is poorly written or "unoriginal"
It’s mainly because their mix is not up to industry standards.
Over 75% of the songs I receive actually sound half decent, but I can hardly listen to them all the way through because of how poor the mix sounds.
Honestly, I get it though...
Mixing is easily one of the hardest things to conquer in music production.
My old music project with Steven didn't get much traction, mainly because we couldn't get our songs to sound anywhere close to the quality of what the bigger producers were making.
But after years of working on it, I've discovered techniques that have been able to improve my mix beyond what I originally thought was possible.
I've even been able to create songs that are louder and cleaner than some of the artists I've looked up to.
And now I'm going to share with you the best techniques that I've learned over the past 7 years producing.
Some of these may seem simple... but I promise you, if you follow each one, you can instantly improve your mix overnight.
11. Less Is More
It’s easy to trick yourself into thinking “the more layers and FX I add, the better this track will sound”.
But by no means is that the case.
It’s like over decorating a christmas tree.. It’ll just look like shit.
So, instead focus your attention on as few elements as possible instead of spreading your attention too thin over a huge quantity of elements in the mix.
Think of a Deadmau5 track for example. There are such few elements in his songs. Maybe only 3 or 4.
But each one of them is mixed to absolute perfection.
Deadmau5's song "Strobe" is a perfect example of how simplicity can make your track sound amazing.
https://www.youtube.com/watch?v=tKi9Z-f6qX4
This doesn't necessarily mean you have to limit yourself to 3 elements. There can always be exceptions when it comes to music.
But for the most part, stay focused on as few elements as possible and work on making those elements sound perfect!
One of my biggest sounding tracks also happen to be one of the simplest ones I've made, "Holy Grail (Adieu Remix)."
10. Make Sure There Are No Clashing Frequencies
Every single sound occupies a certain part of the frequency spectrum.
If two or more sounds are fighting to occupy the same frequency range (let’s say a lead or stacked chords and female vocals) then those sounds will “mask” each other, and they won’t stand out in the mix.
In this case, the chords might mask the vocals.
I've seen producers drown amazing melodies because their chords are completely hogging a certain frequency.
So, even here, you can use the "less is more" philosophy too.
Pro Tip: Think in terms of Tall, Deep, and Wide.
Tall = Frequency range low to high
The generally accepted standard range of audible frequencies is 20 to 20,000 Hz.
Deep = The ”depth/space” of all the elements. Usually and time based effects like reverb and delay.
Reverb and Delay are amazing effects to add some unique characteristics to individual elements in your songs. The problem is that most producers over use these effects and end up killing their own mix.
Be cautious when it comes to using too much Reverb or Delay.
Wide = Stereo imaging from left to right.
Picture a sphere where all the sounds can be placed in.
Mix accordingly.
Make sure every element has it’s own space, position and tone in the sphere, and be aware of clashing or masking.
It might sound strange to visualize your mix, but it actually can be quiet useful (whether you use a sphere or not.)
9. Check The Mix On Multiple Systems

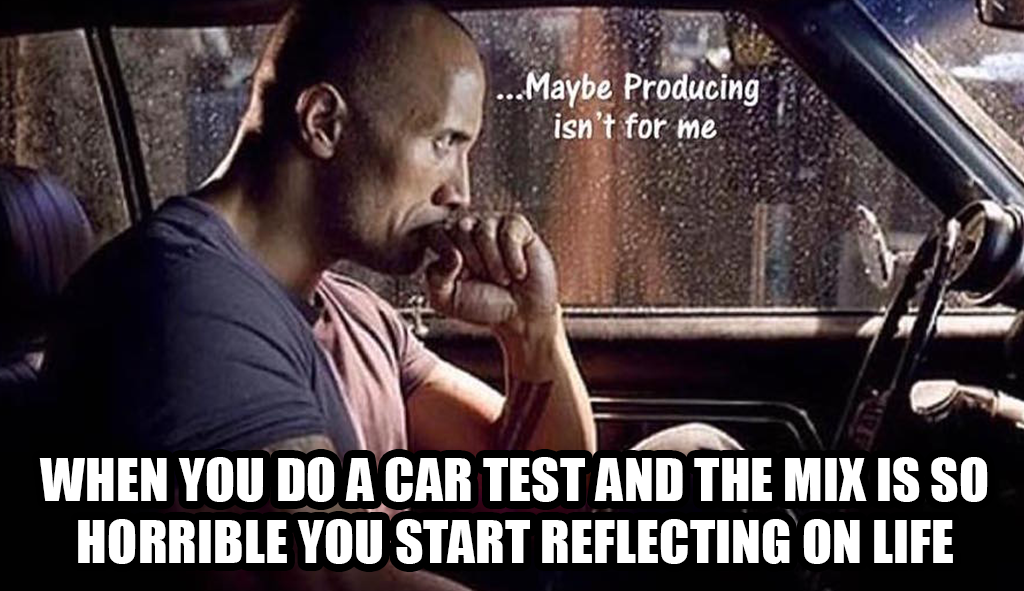
Have you ever worked hours on a new song only to get in your car and realize it sounds like shit?
Don't worry, every producer has experienced this before.
As a producer, you have to understand that hardly any of your fans will be listening to your music on the same set of speakers.
They'll be listening to your songs on laptops, car spears, iPhone headphones, or even some huge concert monitors.
This means you should be checking your mix on those systems too!
I suggest listening to your song on as many systems as possible.
You should also reference other professionally mixed tracks that are a similar genre and style to your track to achieve the best sounding mix across all systems.
And then of course, go back to your project and fix the elements one by one.
Secret tip: Having other people with you while your music is playing might make you interpret it differently. You might become aware of certain mix flaws or other problems you didn’t pay attention to just because you’re in a more vulnerable state while other people are there.
Who hasn't been here before:

8. Try Cutting Instead Of Boosting
MORE! MORE! MORE!
That's what goes on in most producers head when it comes to getting a louder and cleaner mix.
In reality, this often makes your songs sound worse and even more quiet.
Instead of boosting frequencies that you want to stand out, try cutting frequencies that aren’t needed!
This allows the frequencies you wanted to boost to shine without the damaging effect of boosting.
This technique will also give your mix more headroom and allow for the rest of the elements in your song to shine.
Exception: you may want to boost key frequencies when creating drum samples. For example, when making a snare sample, you may want to boost around 200-250hz to make the snare “pop”.
In the diagram below, I show how instead of boosting frequencies you want to stick out, you can try cutting in different areas of the spectrum to make the other frequencies stand out more. Please note that this specific picture is not necessarily exactly how you want to EQ, but just an example.

7. Reference Other Professional Mixed Tracks While You're Mixing
Download a couple of tracks that you want to model your mix off of.
Add those tracks to your project and reference them constantly to see how your mix is coming along.
This is one of the best resources you can have during your mixing process. It's a little secret trick that I've only seen higher level producers use.
It's like having a cheat sheet right next to you as you take a test.
You'll often hear how a track you're modeling after has better bass or a louder snare. Whatever it may be, it'll stand out when you put it next to your own song and realize exactly what you need to work on to achieve a similar type of mix.
**DISCLAIMER: Don’t get too caught up in this technique if you feel your mix going in a certain new direction. That's when you have to improvise.
One tool you can also use is iZotope Ozone 7's "Matching EQ" to replicate EQ curves from different tracks. This would typically be used in mastering EQ, but it can also be used to study.
You can use this tool to take "snapshots" of your favorite tracks frequency spectrum to study and compare them to tracks. You can even turn up the "amount" parameter and Ozone will attempt to match your song's EQ curve to the reference track!

6. Put Effects On Returns/Sends
Instead of putting a separate reverb or delay on EVERY track, try putting your “space” effects on returns/sends.
There are tons of benefits to this including:
- Your original audio signal stays intact so there's less "noise" damaging the mix.
- A more “together” sound - your reverb/delay will sound the same across most of your sounds so your elements will sound more in sync with each other since you are sending them all to the same return.
- You can EQ/compress your reverb for a cleaner signal. There is no sense in leaving the low frequencies in your reverb because they will clash with your kick and sub bass. Also, compressing your reverb signal can allow it to sit in the mix better and stay “even” throughout the song.
- You can use a custom sidechain on your reverb which will drastically clean up your mix. One trick I sometimes use is a slightly deeper/longer sidechain on the return track to allow my synths to shine before the reverb signal comes in.
Hint: I used my favorite reverb plugin in this diagram ;)

5. Don’t Highpass Every Element In Your Track By Default
This is one of the most common mistakes I see new producers do.
Putting a highpass on EVERY track in your song besides the kick and sub is not necessarily a good idea, because it can instantly cause your mix to become thin and harsh.
With all the low frequencies cut out, this makes the higher frequencies so much more intense and present.
I know this seems like it goes against tip number 10, but sometimes there are exceptions.
If you're one of the people who highpass every sound, try this little trick and you'll definitely add some fullness to your mix.
*Please note that I am not suggesting that highpasses aren't needed - I’m simply advising that you listen to the effect it has on your mix before you just slap a highpass on your synth bus.
4. Try Not To Get In The Habit Of Soloing Things While Mixing
No one is listening to just the synth at the drop of your song...they listen to the whole drop.
Something may sound a certain way solo'd but completely different in the overall mix.
And...ALL THAT MATTERS IS HOW IT SOUNDS IN THE MIX.
Who cares if your kick sounds like the best in the world if when you put it in a song it sounds distorted and terrible.
This is one thing I learned the hard way, so trust me, it’s super important!
Make sure you work on the mixing while all the sounds are playing and get out of the habit of soloing each sound when mixing.
(In general it's actually important to be aware of your habits you have while producing. Some maybe good, but some maybe be holding you back! And just like the habit of smoking or eating unhealthy, it can be hard to break.)
3. Give Yourself a Break From Hearing The Track
If you’ve been working on a track for a while, you might have heard it over 100 times and have gotten used to how it sounds.
At this point, you literally don't have the perception you need to fix things in the song.
Your brain actually will accept anything it hears as being "ok" given enough time.
Try not listening to it for a couple days and then come back to it with fresh ears and a fresh perspective on the mix down.
I've found that one of the best ways to get a fresh pair of ears is to listen to your song the next morning, after a long nights rest.
In short, don't be this guy:

2. Take Notes Outside Of The Studio.
I mean literally sit down with a pen and notepad, turn on your song, and write down things you hear that you need to improve on.
Think about actionable steps you can take to improve and write them down!
Hear a lead synth in your track that is clashing with the vocals?
Write down ideas you have to fix it.
This way, next time you sit down to work on mixing your song, you’re not fiddling around with 100 random things…you now have a checklist to go through.
This will also speed up your workflow and make the best use of your time in the studio.
Best part about this one - you can do it anywhere!
Pro tip: Do this for your songwriting, sound design, etc too. This is one of the biggest production hacks to speed up your writing process.
1. Sample Selection Is Key.

There's a common misconception that with enough processing you can make anything sound good.
This is where a lot of producers put themselves in a bad position.
When you start off with low quality samples and sounds, mixing becomes an uphill battle.
This used to be one of my biggest problems.
I used to try and take random drum kits and expect to have a mix the level of Skrillex or Flume.
This line of thinking just wasn't realistic...
You know what they say, you can't polish a turd.
The good news is, I spent years learning drum design to really make high quality drums for my songs and the difference was INSANE!
You can literally hear a HUGE difference in how much louder my mix sounded after I started to create my own drums.
If the right samples aren’t chosen right at the beginning of writing a track, find more suitable ones.
Go through as many samples for each element until you find one that suits the style and tone of the track.
Never try to make a shitty sample sound better by running it through an endless processing chain.
I suggest spending up to a couple of hours collecting all the best samples possible before you even start a song.
This way when you do go into song writing mode you're not shifting through your DAW looking for a random kick that may not even fit your track.
If you are looking for an incredible set of samples to up your production, I suggest downloading our Ultimate Free Samples Library.
This is an amazing place to start. It is extremely powerful and doesn't even cost a penny.
But if you do have ANY QUESTIONS about mixing, please ask in the comments below.
This is a syndicated post. To read more, click the source link above.


