How to Streamline Your Workflow: Production Habits & Tips
 In this article, we discuss tips and tricks that music producers and mix engineers can use to streamline their workflow and increase productivity.

Unfortunately, there are only 24 hours in the day.
As nice as having more would be, we have to make do with the 24 we have. And with sleeping, eating, and other necessary tasks taking so much of the day, we may be left with limited time to work on music.
If that’s not the case for you, consider me jealous…
But, if you wish you had more time to spend producing, it’s important to make the most of the time that you do have.
By developing positive habits and taking advantage of modern production tools, we can work more efficiently and get more done.
In this article, we’ll discuss using templates to save time on repetitive steps, organizing your workspace, and using visual tools to streamline your workflow. If you’re interested more in looking at how you can improve your workflow from a time management perspective, we’ve also got you covered here!
Templates & Presets
Being efficient with your production time is super important. The less time you spend on menial tasks, the more you spend actually working on your track. Setting up your own templates and presets ahead of time can help you save some time.
If you feel boxed in when using templates, feel free to avoid them. However, there are definitely ways to use templates without sacrificing your creative freedom.
Designing project templates can be beneficial. There are certain things that you’ll do in every project, so having these tasks already done is a great time-saver. Rather than spending time in the beginning of a project setting things up, you can dive right into the important stuff!
Below is my personal default project template. You can see I’ve already set up everything that I would need in a typical track.
I have sidechain channels for my kick and snare, MIDI channels for basic drums (kick, snare, hats, and percussion), an empty audio channel and an empty MIDI channel for instruments, and 3 return channels for a big reverb space, a small one, and some delays.
I even have empty drum racks on my drum channels with bypassed plugins that I often use, but that step isn’t necessary.

This is the file that loads when I open Ableton. I would normally spend the early stages of a project more or less getting to this point. Now, I can start producing or mixing right away, saving a ton of time. Anything that I don’t end up needing from the template can easily be deleted.
SIDE NOTE: This is a production-oriented template, most useful when starting a track from scratch. If you spend more time on mixing or recording, you can set up a project template accordingly.
Below are the steps to create a project template in a few common DAWs. If you don’t see your DAW here, this information should be relatively easy to find. Feel free to comment below with a link to help out others who also use your DAW!
Ableton:
- Go to Ableton Live’s Preferences (⌘+,).
- Go to the “File | Folder” tab.
- Click “Save” next to “Save Current Set as Default” to save the current live set as the default project.
- Close and re-open Ableton to make sure this has worked.
Logic Pro:
- Go to the “File” menu in the menu bar.
- Click “Save as Template”.
- Click “Save” in the following text box to save the current project as a template. These can be selected when creating a new project.
- Close and re-open Logic to make sure this has worked.
FL Studio:
- Create your template and save it as a project.
- Save your template in the following folder (usually in Program Files): Image-Line > FL Studio (#) > Data > Projects > Templates (create a new folder in here or save your template in one of the existing folders)
- Close FL Studio and re-open it.
- Now you should be able to select “New from template” from the “File” menu to load up your template.
With any DAW, you can also just set up a template, save it as a project, and open that file when you need it. I do this for vocal recording, simply opening a file that I’ve made which has everything I need for recording vocals. If you’re interested, that contains an audio track ready to hold the instrumental, groups set up to keep me organized during a recording session, pre-configured ins and outs, etc.
For those of you on Ableton, be sure to make use of the User Library, which you can find under “Places” in the Browser.
Here, you can save just about anything from samples to whole projects, and anything can be directly dragged into the current project. If there are FX chains that you often find yourself using, feel free to save them here for future convenience.

Organization
Making progress on that amazing mix of yours is tougher in an unorganized workspace.
Much of what we do as producers and engineers consists of hearing a problem, finding that problem in the project, and then fixing it. But when we’re unable to find the problem amidst the clutter of an unorganized project, time is wasted.
You should be able to immediately find anything in your project, from your kick drum to the compressor on your 3rd layer of background vocals.
There are a few main things you can do to keep a project organized. Tim discussed several in an earlier article on signal flow and plugins – but I’ll rehash some key points here too.
Labelling
Listen, I know naming things seems tedious while neck-deep in a track, but this is the easiest and most effective way to organize a project. The more you label, the more efficient your workflow will be.
Channels should definitely be named. Choose something simple that’ll quickly catch your eye when scrolling by. It’s good practice to use the same names for the same things in each project, as you’ll get used to a system and have a more personal production experience.
For example, I always call closed hihats ‘CHH’ and open hi-hats ‘OHH’.
It’s also quite useful to name the sections of your song using “markers” or “locators”. By labeling each part of the track, you’re able to navigate much more effectively.
Again, use a naming system that works for you and be consistent. For example, I’d label the first verse, first breakdown, and first chorus of a track “V1″, BD1”, and “C1” respectively.

(Most DAWs allow you to name MIDI regions/audio clips/etc. as well. This can be helpful, but depending on the DAW may not be worth your time.)
Structure
Having a consistent structure also helps when navigating around your projects.
Finding a specific order for your channels (buses included) is one way to do this. Any order will do, so long as you pick just one and stick with it.
I typically order channels (and groups) from top to bottom by importance.
In my drum group, for example, I always order my channels kick, snare, hats, percussion. In my instruments group, I always have lead instruments above support instruments. Find what works for you!
If you’re working in a DAW that allows for channels to be grouped, take advantage of this.
Groups offer a great way to compartmentalize things while you work, plus they often have the ability to minimize (called “folding” in Ableton). This frees up screen real estate, which we all know can be in short supply when wrestling larger projects.
Make sure that your mixer is properly routed as well. More on that here!
Color
Taking that bit of extra time to color-code a project can be a real time-saver. Especially in massive projects with tons of channels, it’s great when you can quickly identify the kick drum or main synth by color.
As with labels and structure, use a coloring system that works for you. It’s a good idea to color all channels of a certain type (e.g. all the drums, or all the vocals) with the same color.
In my default project template, you can see that all my drums are blue and all non-bass instruments are purple. This allows me to spot them quickly and move around in my project much easier.
Using Visual Tools
As producers and engineers, we have a whole host of visual aids at our disposal. Sometimes they can be distracting, as the sound of your track or mix should always be most important. But we have these fancy DAWs and all these pretty meters… so let’s look at a couple ways they can make our jobs a bit easier.
Level Meters
Mixing is honestly about 80%-90% based on level, so these meters (specifically the ones found near channel faders) are pretty important to watch for.
However, we can make these more useful.
There can be a big difference between the value to which you set a fader (we’ll call that the “fader level”) and the actual volume that comes out of the channel (we’ll call that the “channel output”). You may have set a fader to -4 dB on your mixer, but the channel may be outputting signal at -20 dB if the signal is quiet to begin with.
You can see this in the example below, particularly on the CHH channel. The fader level is set to -6.5 dB, but since the signal is already quiet, the channel is outputting signal at about -23 dB. The Kick and Snare channels have the same issue.

When this is the case, we can’t compare fader levels to each other, as they don’t seem to be on the same scale. To solve this issue, we’re going to bring the signal up to just before the red on all channels. This level is often known as “unity gain”.
We add gain at the end of the signal chain until signal just barely reaches unity gain. Most DAWs have a gain plugin of some sorts (Ableton’s Utility plugin for example), which can be used for this. A limiter is another option if you want to be safe, but the limiter should be set low enough that it isn’t limiting anything.
Now, the fader level represents the peak volume of the channel. If we set the fader level to -10 dB, we know that the corresponding channel output will actually peak at -10 dB.
Below, I’ve added a Utility plugin to increase the gain of my CHH channel. By adding 16.2 dB, the signal hits unity gain. Now, both my fader level and channel output read the same number. I lower my fader to -23 dB to keep the same mix balance. Making the same changes with the Kick and Snare channels, all 3 faders are now comparable and easier to work with.

If all channels are set up this way, we can use the fader levels as an extra visual tool. If you’d like to implement this technique, simply insert a plugin that can increase gain on every new channel you create and adjust it when needed.
Side Note: These gain plugins also help with volume automation. Automating channel faders for volume automation can be a pain, as it can create confusion when mixing due to faders moving around. Instead, automating a gain plugin keeps volume automation and the channel volume separate, which I find to be a nice way to keep things organized.
Spectrum Analyzers
Whether you’ve used a dedicated spectrum analyzer or not, you may have seen one in your favorite EQ.

Ableton’s EQ Eight
Spectrum analyzers show the amplitude of different frequencies in a signal, so they’re great for identifying frequency issues.
For example, resonant frequencies, like sharp ‘s’ sounds in a vocal, will show up as visible spikes.
Seeing these types of issues clearly will help you to solve them more quickly.
It’s a good idea to have a spectrum analyzer as the final plugin on the master channel. This will allow you to see the final frequency content of the whole track, and identify issues in the mix or arrangement.
In the example below, I’m able to see that there are some mids that need to be tamed thanks to Ableton’s native Spectrum plugin, a dedicated spectrum analyzer.

Vectorscopes
While a bit more specialized, vectorscopes are helpful in quickly identifying imaging issues. They show the stereo image of a signal, which can be used to check that elements are correctly placed in the overall stereo field.
Some vectorscopes are found in imaging plugins, similar to how spectrum analyzers are found in EQs. These imaging plugins are able to adjust the stereo image of the signal and work well in conjunction with vectorscopes.
Miscellaneous
Before we go, let’s discuss a few more habits that you can implement to speed up your work.
For one, find a mouse rather than using a trackpad. You can use anything from an expensive gaming mouse to a cheap run-of-the-mill one (my personal favorite).
Regardless of what you choose to roll with, it’ll still be quicker than a trackpad. Even if right now you’re thinking to yourself “Nah it’s fine, I’ll keep using a trackpad”, please do give it a go. After using my trackpad for years, I finally got a mouse and wished I’d done so sooner.
Also, familiarize yourself with the keyboard shortcuts for your DAW. This is going to be one of the biggest time-saving measures available to you and will make the production process feel much more streamlined.
Many DAWs even have the ability to create new keyboard shortcuts (called “key mapping”). If you see the need to use this function, go ahead.
For example, I’m annoyed when I pause playback in my project and hear tons of delays going on forever. To solve this, I map a rarely used and convenient key (like ‘\’) to the bypass of all delay plugins in my project. That way, I just have to hit ‘\’ twice to enjoy some sweet silence.
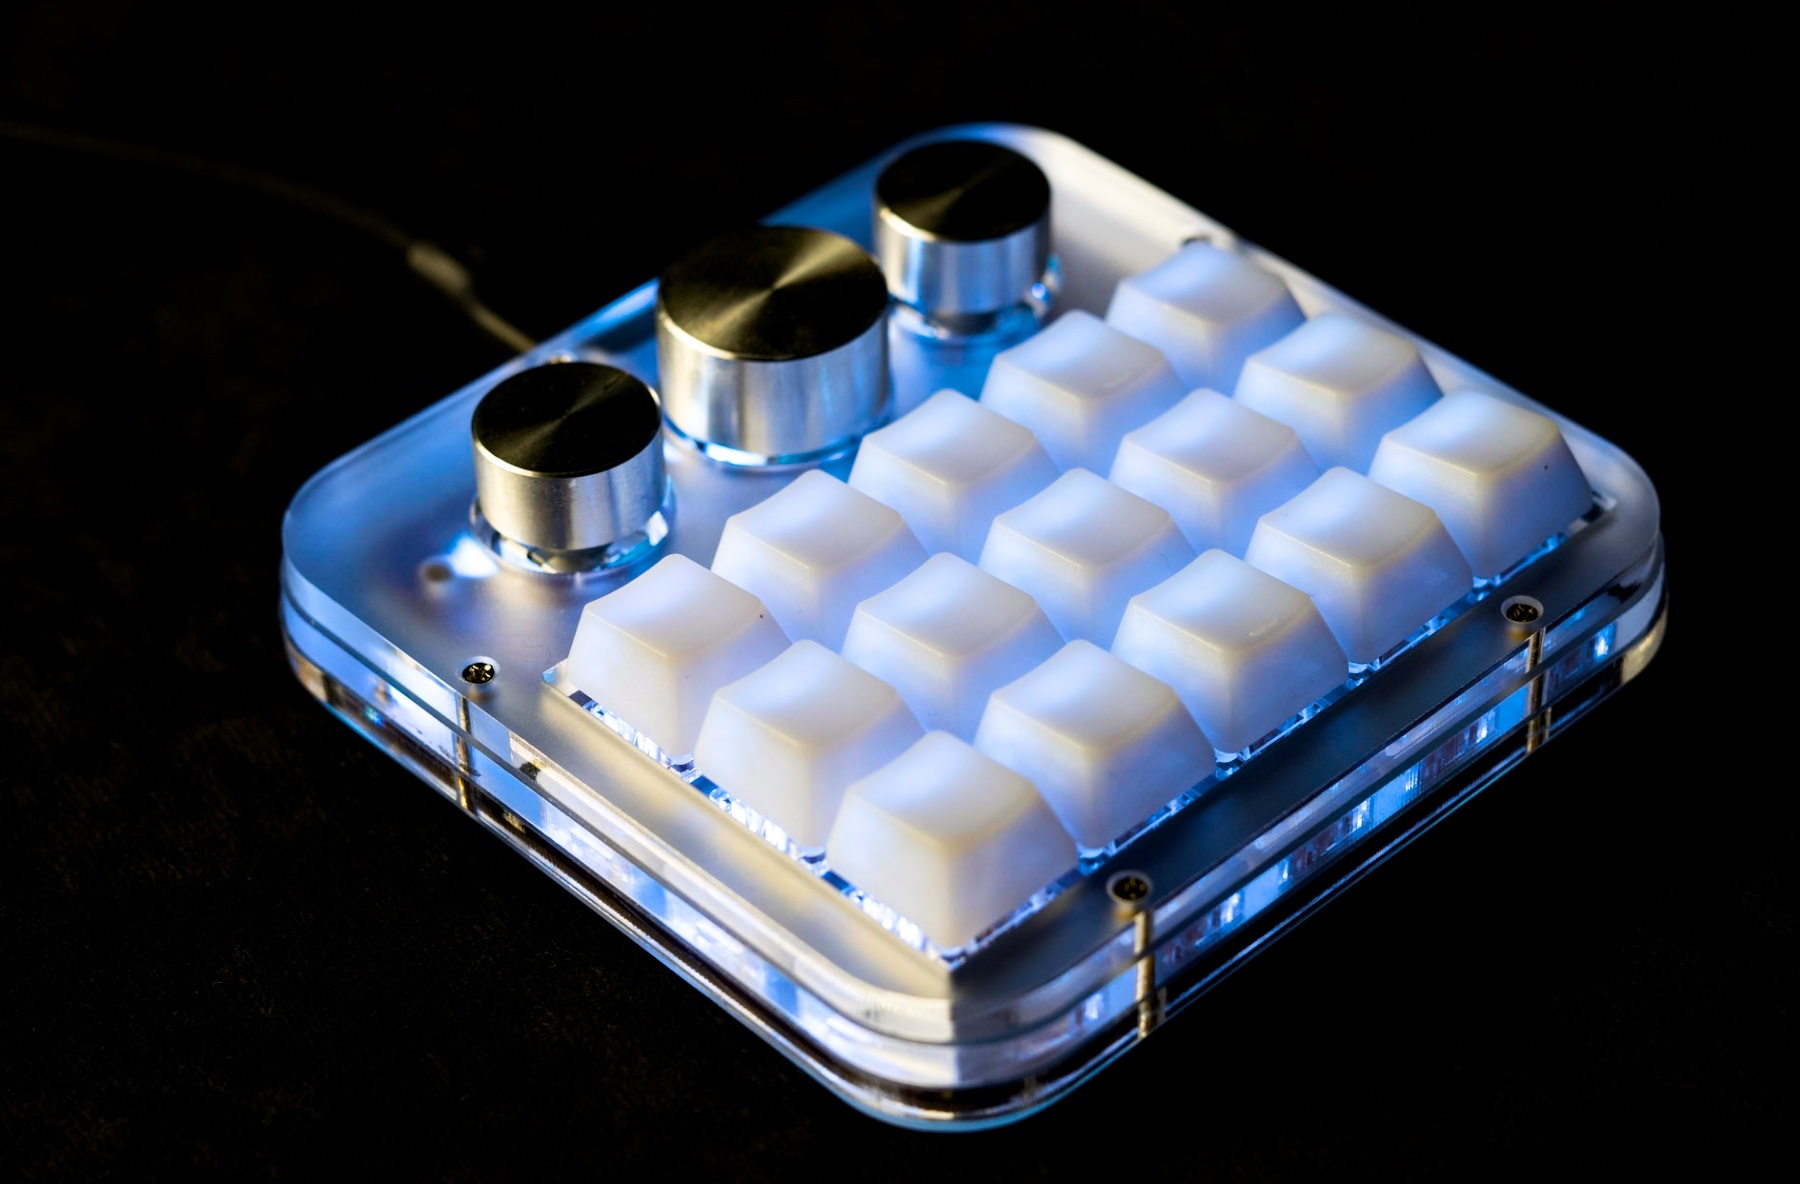
Using control surfaces in the production process can lead to a more organic-feeling workflow as well. Try using physical knobs and faders to control parameters in your DAW, you may prefer it. I often use the knobs on my Ableton Push 2 when mixing to set levels, as a physical knob feels more tactile than moving a mouse.
We hope you enjoyed the article, and that you find you’re able to work a bit more efficiently with these ideas in mind. If you have any workflow tips for other readers, feel free to drop them in the comments below. Later!


